A Review and Thoughts
Mark Brown

April 14, 2022
This isn’t my typical type of blog entry but I thought enough time has elapsed since I bought the equipment for the garage. One of the specialty bars I bought earliest was the Safety Squat Yoke Bar by EliteFTS. I had heard what people said and watched plenty of videos of it used so I decided to make it one of the priority bars to acquire back in 2020. It is truly helpful and an intriguing specialty barbell. I am quite happy that I purchased it and I have learned quite a few things from using it in my lifting over the space of nearly 2 years. This entry will act as my thoughts on it specifically and as a product review. If you are looking for a standardized star system or a thumbs up, you won’t find it here because equipment is always at best a “it depends” situation.
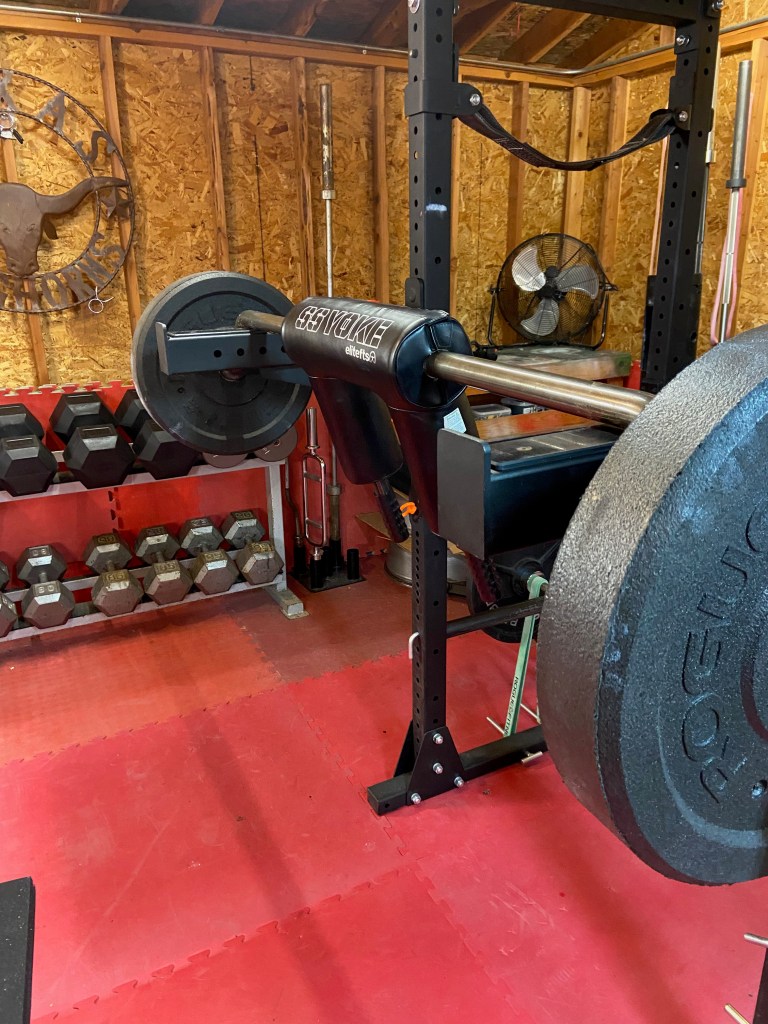
The first thing to I want to say is how different a squatting experience it was the first time I got under this bar. I was very familiar with straight bar squats by 2020 because I had been lifting since 2013. My reason for getting the yoke bar was to use it my primary squat bar because of the tension I felt in my left shoulder and left bicep tendon when I straight bar squatted over the years. It was, and still is, advertised as a bar used by people who have shoulder and rotator cuff issues to continue squatting. In my experience, the product more than delivers on its advertising.
The first time I got under the bar in September 2020 I realized that wasn’t going to be able to make it my primary squat bar for a long time. This bar has 2 elements that make it a difficult bar to squat with for those new to it: 1) A high learning curve and 2) higher strength requirement. The second is the major reason why I wasn’t ready to squat with yoke bar regularly immediately after I bought it. The bar places more direct stress on the upper back and neck area than a straight bar does during a squat. What that means for lifters is there is a baseline strength in the upper back needed to make this bar part of a lifting program. The slight camber in the bar also makes squatting more difficult by adjusting where the weight physically is in relation to the body. The principle of keeping the weight over the legs still very much applies when doing the movement with this bar. The 2 inch camber combined with the direct stress on the upper back makes for a more difficult squat overall.
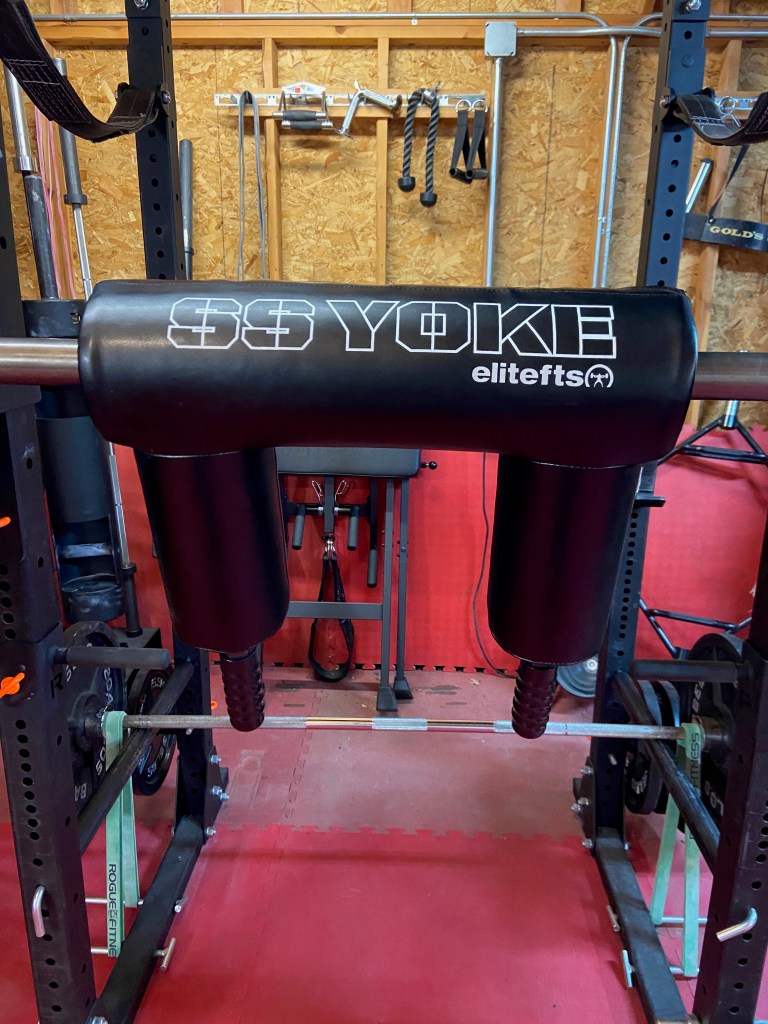
I knew after that first night using it that I wasn’t strong enough in my upper, middle and lower back. I didn’t use the bar again for most of 2020 as a result. I also knew I would have start using the bar at some point to break in the pad that makes up the part of the bar that actually touches the body, even if I wasn’t strong enough to really squat with it. The pad starts out quite hard and unforgiving. It took a few months to really start breaking in. This is due to the fact that the padding on the bar is quintuple the thickness and much more dense than normal squat bar pads as well as it was only used once a week if that. The padding at the start is a very real impediment that a lifter new to this bar will have to overcome.
To say I learned that this bar is one I would have to work into using is an understatement. The biggest hurdle to overcome was upper back strength. I know in 2020 this was a major weak point because I have heard from a number of people who have noticed the change in my upper body in general since. When I got back to the garage in June of 2021, I committed to using the bar every week for at least one variation of squat. That helped break in the pad and got me to learn proper stance/foot placement. Committing to using the bar forced me to focus programming on upper back development to help me become able to use the bar regularly. Overhead presses that start at the collarbone to a fully locked out position, lat pulls, viking press, barbell rows, t-bar rows, cable rows, and even deadlifts themselves have all become part of my regular programming since June of 2021 to increase upper back strength. Developing that muscle group is essential for squat and deadlift improvement but mandatory for using this bar for its intended purpose. I cannot stress that enough.
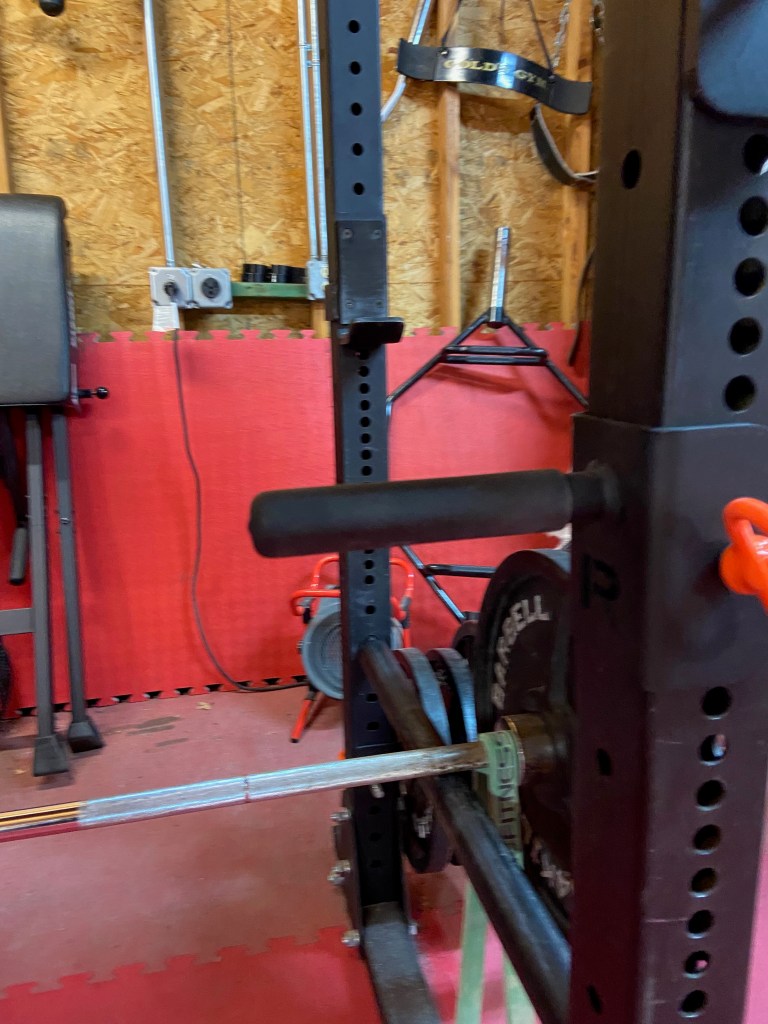
The same design feature that puts all the pressure of the weight on the upper back and neck area allows the bar to stay there without being actively held there by the lifter’s hands. That makes squat variations much easier to pull off. When I got the handles for my power rack I found more uses for the yoke bar. By using the handles for external stabilization I could focus all of my energy and effort on my quads similar to the way a hack squat machine works. This variation is known as a Hatfield Squat. I normally go down to a box down when doing these “assisted” hatfield type squats. What makes them especially helpful is the way I can overload the lift beyond a weight I would not be able to lift without that external stabilization. That is incredibly useful in the absence of hack squat and leg press machines.
The yoke bar also has uses that go beyond squats but I will leave that to this pseudo-commercial by the company that makes it:
I fully recommend this bar. It has been super durable and it has helped my squat overall, especially when paired with the handles on my power rack. It is a bar with a significant strength wall and steep learning curve to overcome so don’t expect to be able get right under it and go like a straight bar. At the time of this post, it is retailing at $445 (with $0 domestic shipping) so it isn’t cheap, but is in line with the specialty bar market. Currently, I lift about 80-85% of my straight bar 1RM when I use the yoke bar. This bar will help upper back development, which is essential for all 3 main powerlifting lifts, so it definitely has a place in any powerlifting gym, commercialized or garage.

Great article. Well written, straightforward, unbiased, honest review. Thank you.
The associated video was also a great inclusion.,
LikeLike